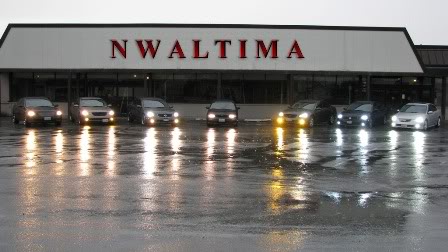
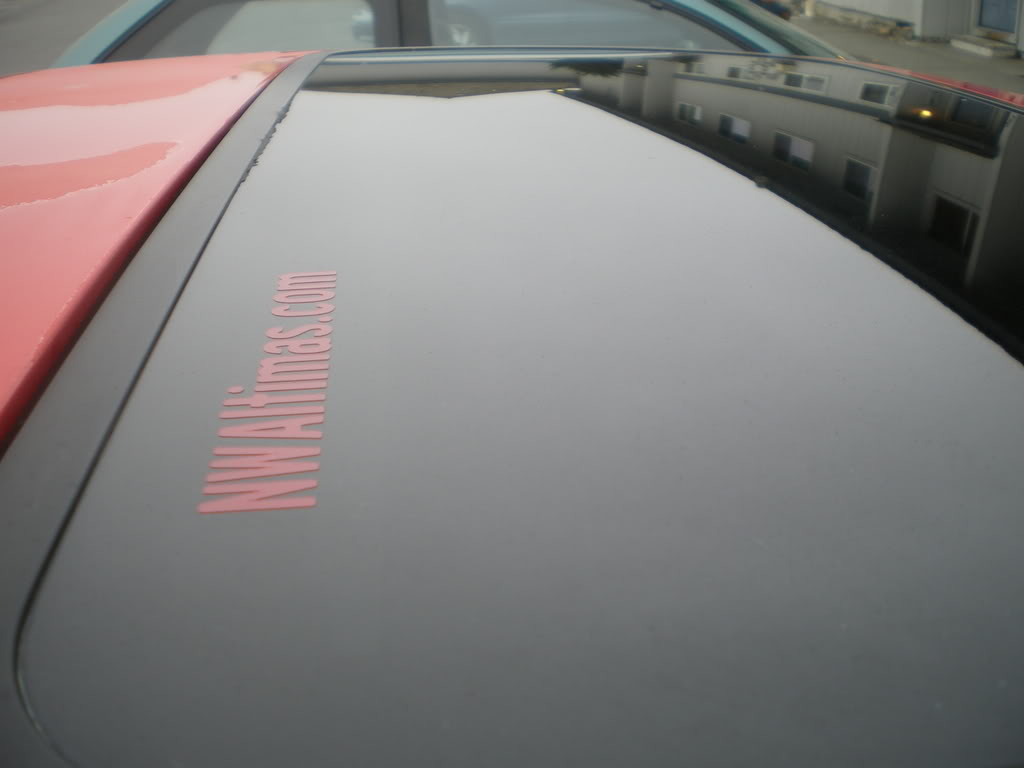
cdc88 wrote:what is the instructions on these, i already messed up in one
---copyed from the web---
Even a beginner can achieve professional looking results when installing vinyl graphics if they know the steps it takes for a proper vinyl graphic install. As the cost of painted graphics keeps going up, vinyl graphics are becoming a popular choice for more and more people. You can save some really serious money by buying your vinyl graphics on eBay and installing them yourself.
Lets get started!!!..........................................
Items You Will Need
Application Fluid or Spray Bottle with Soapy Water (mix 1 tsp. mild soap with 1 gal. water)
Squeegee - bondo spreader works well
Paper Towel
Lint Free Towel
Vinyl Graphics
1. Completely clean the outside of your car or the decal application area to remove any grease or dust particles that may prevent the vinyl from sticking to the surface. Make sure when you dry the vehicle that you use a lint free cloth. A clean surface is the most important step when installing any type of vinyl lettering or graphics.
WARNING - Never use an ammonia based cleaning product. For example - window cleaner. These are very harsh and can damage the vinyl adhesive, possibly causing the vinyl graphics to bubble or even peel. There is a possibility of damaging your vehicles surface as well.
2. Test fit the graphic to your vehicle to make sure exactly where you want to apply it.
3. Using application fluid or a spray bottle with soapy water, wet the area where you are going to apply the sticker, making sure there are no dry areas.
4. Peel the backing off to expose the adhesive side of the vinyl graphic. Lightly spray with the application fluid or soap and water mixture.
Do not peel the top layer off yet.
5. Put the sticky side of the graphic to the surface of the car where you want it applied. Slide the graphic around gently to make any adjustments until it is properly placed in the area you selected.
Be careful not to rip the graphic at this point. Gently move it into place.
We recommend when applying larger graphics that you ask a friend for help to avoid putting creases into the vinyl.
6. Using your squeegee, work all of the fluid and bubbles from the vinyl starting at the center and working your way out to the edges. Repeat the process a couple of times if necessary to get all of the soapy water and trapped air from underneath the vinyl graphic.
7. With the vinyl graphic on the vehicle, spray the entire sticker to neutralize the glue. Squeegee it again to remove any remaining air pockets.
8. The decal needs to remain on the vehicle for approximately 30 - 60 minutes depending on how warm it is. If you do not have time for the vinyl to dry on it's own, you can use a blow dryer on a low setting, being careful not to heat the vinyl too much. Once it has dried, remove the top application layer, peeling it straight up to reveal the vinyl graphic.
If the vinyl peels off when removing the top layer, go back to step 6.
Make sure you do not try to remove the remaining layer until it is dry again.
9. To ensure that you have gotten all of the air bubbles from underneath the vinyl, you should give it one more good spray and run your squeegee over the vinyl one last time. Once application is complete, you can drive your vehicle without fear of the vinyl graphics flying off. However, we suggest you wait 24 hours before washing, waxing or driving through rain or snow.
Small bubbles may be pricked with a sewing needle and then squeegeed.
We hope you have found this guide to be informative as well as helpful. Just remember to take your time and don't be afraid to try it. Installing vinyl graphics is fun and clean, and it makes your vehicle look GREAT without costing you an arm and a leg.